Wednesday, May 30, 2012

Toasted Coconut Ice Cream


*ahem* Hello, my name is Megan.

And I have an addiction. To coconut.

Thank you.

But seriously, people. If there is a coconut lovers' anonymous group out there, I need to join. The sweet, sweet flavor. I just can't get enough!

And then I discovered this ice cream. This is not doing anything to help my addiction.....

Start with three milks. These three:


Then make some toasted coconut.


 Mix the milks, some vanilla, and the coconut. Let it chill for at least a 1/2 hour.


If you want a super smooth ice cream, feel free to strain out the coconut. It will have imparted most of it's toasty goodness.

Now, in goes the salt and nutmeg.

Use whatever ice cream maker you have, mine's a KitchenAid attachment.


Churn according to the instructions on the machine. Transfer to a container and freeze in the freezer to get it really hard.


Serve with a bit more coconut, 


and perhaps some of that butterscotch sauce.... 


then, of course, a bit more coconut.


Toasted Coconut Ice Cream
Serves 4
Adapted from The Kitchn

1/2 c. unsweetened shredded coconut
1 cup heavy cream
1 14 oz can sweetened condensed milk
1 can coconut milk
1/4 tsp vanilla
pinch of salt
1/4 tsp nutmeg
Toasted coconut chips to top

Turn your broiler on high. Spread the coconut out in a thin layer on a baking sheet. Toast for a minute or so, until just golden brown. Cool for 5 minutes.

In a large bowl, combine cream, sweetened condensed milk, and coconut milk. Add vanilla and toasted coconut. Chill in the refrigerator for at least 30 minutes.

Once the mixture is chilled, add the salt and nutmeg. Pour the mix gently into your ice cream maker and freeze according to the maker's instructions. Freeze to harden up. 

Top with more toasted coconut chips, and some butterscotch syrup. Mmmmm.

Monday, May 28, 2012

Butterscotch Sauce Sundae in an Almond Waffle Bowl


Someone in our house has a soft spot for butterscotch.

He woke up this morning and asked if I thought butterscotch was heavier than milk. And then muttered something about cereal.

I think I'm going to have to put a lock on the refrigerator.....

Anywho, I wanted to see if I could make Mr. S love me any more than he already does, so I dreamt up this sundae. Butterscotch sauce is really easy to make, and the waffle bowls just took a bit of time. No hard skills, just patience.

Start off with sauce. Melt butter in a medium saucepan.


Then add in the light brown sugar and molasses. If you have dark brown sugar, you can cut down the molasses, or opt out all together. We like that butterscotchy taste around here, so all the molasses went in.


When that's all incorporated, toss in the salt.


Then, the cream.


Boil gently for 5 minutes.


Remove from the heat and pour in the vanilla. Stir.


Taste it to make sure you like the salt and vanilla levels. The horrible part of all this, I know!

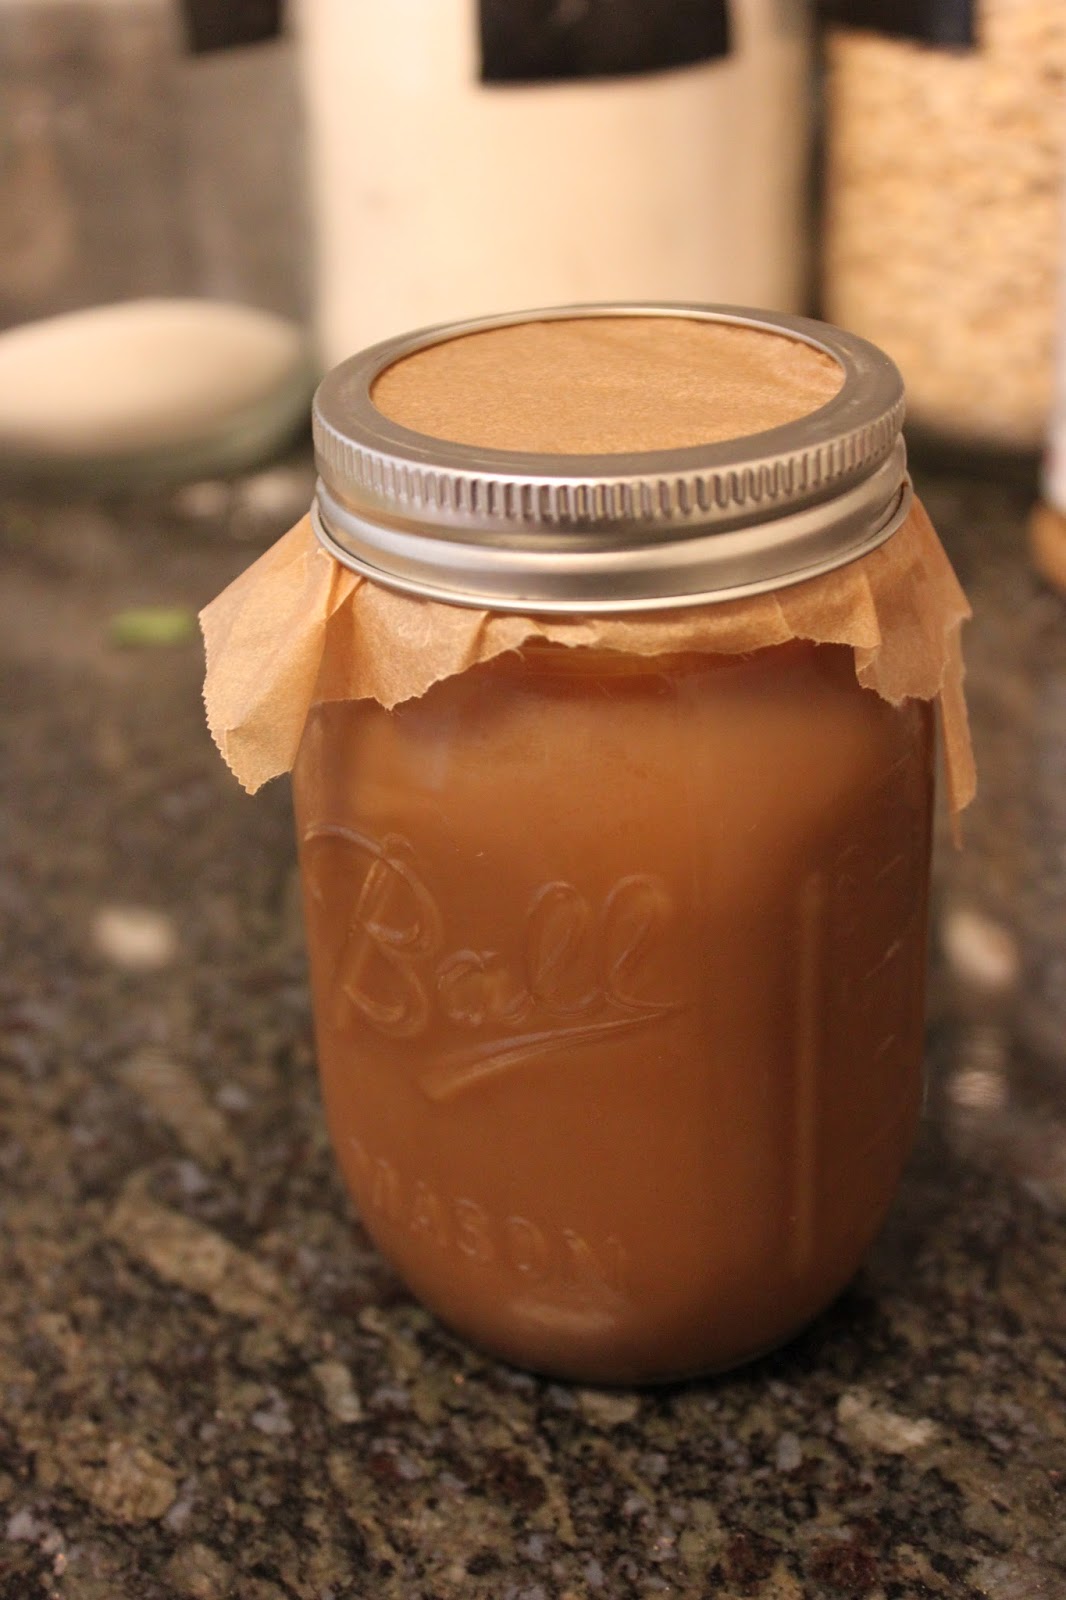
And you're done. The sauce thickens as it cools. Promise! Pour it into a mason jar to keep in the fridge for a week or so (if it lasts that long).


Now for waffle bowls. They aren't really waffle patterned, but I don't know how else to call them. Cone bowls? that doesn't sound right. Toile bowls? that just sounds silly.

Oh well.

Start with the almonds. Blitz them to smithereens in a food processor.


Gently dump the almond powder into a bowl and sift in the flour, powdered sugar, and salt.


Lightly whisk the egg whites, almond extract, and water together.


Stir the egg white mixture and the melted butter into the almond powder bowl.


Gather your tools! Silpat or parchment, tablespoon measure, and offset spatula (a large spoon would work too).

Create 2 circles of 2 tbsps worth of batter on each pan.


Let them cook until they are brown just around the outsides. Spatula them off of the baking sheets and right onto the tops of inverted water glasses.


Use the tips of your fingers to bend the edges, creating a wavy sided bowl.


The smaller the glass bottom, the higher the bowl sides.

These need to be eaten as soon as you make them. The longer they wait, the softer and soggier they get. But you can crisp them back up in the broiler, just be prepared to shape them again.

Now is the moment to.....Assemble the sundae!

Put a scoop or two of ice cream in the bottom of the bowl, drizzle with butterscotch sauce. Top with chocolate sprinkles.


Squeal like a 5 year old. 


Butterscotch Sauce
Makes 2 1/2 c.
Adapted from Smitten Kitchen

1 stick of butter
1 c. packed light brown sugar
2 tbsp molasses
1 c. heavy cream
1/2 tsp salt
3 tsp vanilla

In a medium saucepan, melt the butter over medium heat. Add in the brown sugar, molasses, and salt. Whisk until incorporated. Gently pour in the cream. Allow the sauce to come to a gentle boil and cook for 5 minutes.

Remove from the heat and stir in vanilla. Taste and see if you want to adjust the salt level or the vanilla level (just be sure you don't taste it till it's gone!).

The sauce will thicken when chilled, or remain drizzly when warm.

Almond Waffle Bowl
Makes 8 (if you don't mess any up...)
Adapted from The Kitchn

1/2 c. slivered almonds
1/4 c. flour
1/2 c. powdered sugar
1/4 tsp salt
2 egg whites
1/4 tsp almond extract
1/2 tsp water
5 tsp butter, melted

Preheat your oven to 300 degrees. In a food processor, blitz the almonds until as smooth as possible. Dump them into a large bowl. Sift in the flour, powdered sugar, and salt. Mix well.

In a separate bowl, lightly whisk the egg whites, almond extract, and water.

Add the egg white mixture and the butter to the flour mixture. Whisk together with a few swift strokes.

Line two thin baking sheets with parchment paper or silpats.

Pour 2 tbsp of batter onto 1 half of the baking sheet. Spread out into a large thin, nearly transparent circle. Make another circle on the other half of the baking sheet.

Bake for 10-18 minutes, or until the edges turn golden brown. While they are baking, prepare yourself for bowl-making. Turn over 2 water glasses with big bottoms. Cover the bottoms of the glasses with parchment paper squares.

Remove from the oven and slide a spatula under the circle. It should be bendy and moldable. Place the center of the circle over the glass's bottom. Using the very tips of your fingers, create the wavy edge of the bowl by pushing the edges down. Allow the bowls to cool on the cups for a few seconds before removing them.


Place the waffle bowl on the plate. Top with a scoop or two of ice cream and then drizzle with butterscotch sauce. Top with chocolate sprinkles!


Friday, May 25, 2012

Cherry Cardamom Pavlova


There are a few things in life that take your breath away - coming upon a waterfall in the jungle, the first time you hold your child (or so I'm told), a majestic towering pavlova....

Ok, maybe it's just me on the last one. 

But seriously people:


Tell me that isn't strikingly gorgeous. 

And it gets even better - pavlovas are ridiculously simple to make. The only tool necessary is an electric mixer. 

First off, the egg whites and salt go in a bowl. Turn on the mixer and beat until shiny, soft peaks form. Gently add in the sugar, in 3 to 4 additions, beating as you go.


Sprinkle in the corn starch, ground cardamom, and vanilla. You could dust it in through a sieve if you'd like. Or sprinkle gently. From a great height.


Beat until shiny and incorporated. 

Spread out the meringue into 2 equally huge discs on a parchment-lined cookie sheet. 


Bake for an hour at 300 degrees. Then turn off the oven and wait another 20 minutes (at least) before you take them out.


About halfway through the meringue cooking time, start the cherry sauce. Put pitted halved cherries in a small saucepan. Add sugar. 


Cook on medium low heat for 20 to 30 minutes, or until it resembles a loose preserves. Then add in the vanilla and cardamom. 


Moving right along to the whipped cream, pour the cream into a large bowl. Beat it until soft peaks form. Sprinkle in the sugar and beat as you go. Toss in the vanilla, and you're done. Try not to eat it all before you use it...


Now - the breathtaking part. Assembly!

Peel the meringue off the parchment paper. Don't worry if it breaks. Just gather up the pieces and arrange them on the serving plate/cake stand. Plop on a good half of the delicious whipped cream you just made.  Drizzle on half of the cherry sauce, and top with half of the fresh cherries.


Repeat.


Enjoy watching your guests gasp as you present your amazingly easy dessert!

And then proceed to demolish it.


Cherry Cardamom Pavlova
Serves 6-8
Adapted from Adventures in Cooking

For Meringues:
4 egg whites
pinch of salt
1  1/4 c. sugar
1/2 tsp corn starch
1/4 tsp ground cardamom
1/2 tsp vanilla

For cherry sauce:
1 1/2 pitted cherries
1/3 c. sugar
1/2 tsp vanilla
1/8 tsp cardamom

For whipped cream:
1 c. heavy cream
1/4 c. sugar
1/4 tsp vanilla

1 c. Fresh cherries, pitted and halved, for topping

Preheat your oven to 300 degrees. In a large bowl (or KitchenAid mixer), beat the egg whites and salt together until shiny, soft peaks form. Add the sugar in 3 to 4 additions, beating as you add. Sprinkle in the corn starch, cardamom, and vanilla. Beat until shiny and thoroughly incorporated. 

Line a sheet pan with parchment paper. Make two giant round discs, about 2 to 3 inches high. Bake for 1 hour, then turn off the oven and let sit for at least 20 minutes (or longer if you have the time). 

While the meringue is baking, put the 1 1/2 c. pitted cherries, and sugar in a saucepan. Cook for 20 to 30 minutes, until the water cooks out of the cherries, and then the pectin starts to jell the cherry water together again. It should look like very loose preserves. Add the vanilla and cardamom. 

Next, start the whipped cream. Put the heavy cream in a large bowl and beat with an electric mixer until soft peaks form. Add the sugar in three parts, beating between each. Add in the vanilla and beat until incorporated.

To assemble the pavlova, place a disc of meringue on your pretty plate (it's totally ok if it breaks, you're covering it with whipped cream), top with whipped cream, drizzle on the cherry sauce, and top with fresh cherries. Repeat.


Ok - one more eye-candy picture....

Enough!! Start your mixers!

Wednesday, May 23, 2012

Asparagus & Pesto Tart


Summer is a time for eating outside. Enjoying the long days. Soaking up all the Vitamin D possible.

It's also a time when the plants go nutters.

My basil plant recently decided that life was so good that it wanted to take over the entire patio. I wasn't about to give up my sunny spot, so I had to make pesto. Take that basil plant.

I made a pesto with 2 cups of basil leaves, 1/4 c. of chopped pistachios, and some olive oil. You can buy your pesto to make this recipe, if you don't have a massive basil plant. 

And the best place for pesto? A summer tart!

Start off with the puff pastry you find in the freezer section. Thaw it. 

Then take a rolling pin and roll it out a bit. Using a sharp knife, cut a 1 inch border around the edges. Go almost all the way through the pastry, but leave it still attached. Take a fork and poke lots of holes in the middle area. Go all the way to the corners. 


Spread the middle section with pesto and sprinkle with just a wee bit of shredded mozzarella. You could use gruyere or any other fancy cheese if you want.


Take your asparagus and slice them into thirds - long ways. Layer the slices onto the tart.
Add a few roasted red pepper slices. 


Put the tart in the oven at 425 degrees for 15-18 minutes, or until it's golden brown around the edges.


Use a pizza cutter to slice into pieces.


 Serve to your adoring fans!

Asparagus & Pesto Tart
Serves 4

1 sheet frozen puff pastry, thawed
1/3 c. pesto (or more/less depending on how you like it)
1/2 c. shredded mozzarella cheese
5 stalks of asparagus
Roasted red peppers


Preheat your oven to 425 degrees. While the oven is preheating, leave your puff pastry to thaw on the counter.

Unfold the pastry and roll it out with a rolling pin until it's a bit larger and thinner. Place on a ungreased cookie sheet.

Using a very sharp knife, make a 1 inch border all the way around the pastry sheet, but don't cut all the way through. Go down as far as you can, leaving the border still connected to the middle. 

Take a fork and poke all the way through  the middle part, all over the middle part. Be sure you get the corners. 

Spread a thin layer of pesto all over the pastry. Top with a thin layer of cheese.

Take your asparagus and slice, long-ways, into 3 pieces. The should look like thin asparagus ribbons or noodles.

Place your asparagus ribbons/noodles on the tart and add a few roasted red pepper strips as you like.

Put in your 425 degree oven for 15-18 minutes until golden brown.