Monday, April 9, 2012

Basil, Bacon, & Walnut Scones


As this past weekend was Easter, I have no doubt that you, like me, ate far too much. Then sat on the couch for awhile and chatted. And then went back for another slice of pie....

But now, it's back to the weekday drudge. Ham sandwiches are made for lugging to work tomorrow, and the chocolate bunny's lower half is safely hidden from prying spouses. 

To make up for the missing top half of his bunny, I suggest you make breakfast. Scones, to be precise. Perfect for wrapping up and eating later in the office. He'll never even remember that there used to be 4 Cadbury creme eggs and not 2.....

Start with the bacon. Make a few extra pieces. I'm sure they'll get eaten.


It's just thick cut bacon, black pepper and a sprinkling of brown sugar. Rub in the sugar so it's all spread out.

After 10 to 15 minutes in the oven, voila!


Since the oven is on, toss in a 1/4 c. of walnuts. Let them get all roasty toasty.


Now, get your flour out. You'll need 2 cups, in a large bowl. But, to make the scones all light and flaky, take out 4 tbsp of that flour. 

Replace those 4 tbsp with 4 tbsp of corn starch... and now you have cake flour!


 Magic, huh?

Now for the rest of the drys - sugar, baking powder, and salt


And then mix up the wets -buttermilk, milk, and eggs. Whisk it good.


Chop up some basil. A good tablespoon or two. I just bought a basil plant, you know. I'm still working on the mozzarella plant. 


Chop up the nuts and the bacon too. 


 Now, get that butter out of the fridge and chop it up into chunks. Toss it into the drys. Rub the butter bits between your fingers until it's all blended in together.


Then add the wets in one big pour. Combine in 10 strokes or less. 


And then all that goodness goes in. Yum!


It's gonna be pretty sticky. You can dump a fair amount of flour on your counter and knead the dough 5 times or so. Then transfer all that dough to a cookie sheet (not lined or oiled or anything). 


Take a butter knife and cut the dough into 8 pie pieces. It doesn't seem like you're doing any good, but trust me. After you bake it, you can see the cuts.

See???


Now just run your knife down where you see the lines.

Serve with fruit salad.


Basil, Bacon, & Walnut Scones
Makes 8 scones
Adapted from Mark Bittman

5 slices thick cut bacon
1 tsp fresh coarse ground black pepper
2 tbsp brown sugar
1/4 c. walnuts
2 c. minus 4 tbsp flour
4 tbsp corn starch
1 tsp salt
4 tsp baking powder
1 tbsp sugar
5 tbsp cold butter
2 eggs
1/2 c. buttermilk
1/4 c. milk
1 tbsp thinly cut basil

Preheat oven to 400 degrees. Lay the bacon on a rack on a covered sheet pan (the pan with low sides). Sprinkle with black pepper and brown sugar. Pat it on so the bacon is covered evenly. Bake for 10-15 minutes until browned. Allow to cool. 

Once the bacon is out of the oven, toss the walnuts on a cookie sheet and place in the oven. Allow to toast for 5-7 minutes until you can smell them. Let them cool. 

Bump the oven up to 450 degrees.

In a large bowl, combine the 2 c. minus 4 tbsp of flour with the corn starch, baking powder, salt, and sugar. 

In a medium bowl, whisk together buttermilk, milk, and eggs. 

Take the butter out of the fridge and chop it into small pieces. Add the butter to the flour mixture, and work it in with your fingers (or blitz in a food processor) until it looks like sand. Add the milk mixture in one pour and combine in 10 strokes or less. Chop up the bacon into small bite-sized pieces and chop the nuts into small bits. Add the bacon, nuts, and basil to the large bowl. Combine in a few swift strokes. 

Flour your clean counter with several tablespoons of flour. The dough will be sticky, but knead it 5 to 10 times. Ball up the dough and transfer it to a ungreased baking sheet. Pat it out into a large circle, 1 1/2  inches high. Using a butter knife, score the circle into 8 wedges. Slide into the oven. Bake for 9 to 12 minutes, until the top is golden brown.


Friday, April 6, 2012

Easter Pretzel Nests


This Sunday is one of my favorite holidays. Easter! And yes, I will most definitely be at church that day, but I'll also have an excuse to hang out in the kitchen for multiple hours. Without anyone thinking I'm crazy.

Easter is a great excuse to cuteify everything. Eggs go from white to colored, bunnies appear on everything, and no one thinks anything's off. Yay! 

To combine my love of cute with Mr. S's love of pretzels, I came up with this idea - Easter pretzel nests! Perfect for pleasing both your soft-pretzel-loving husband and your cute-loving self. Triumph!

Begin with warm water, yeast, and sugar in your KitchenAid's bowl. But which kind of yeast?

Why, the open one of course. We don't need the rapid rise, because we are going to proof it. Let the water, yeast and sugar sit for 5 minutes until it's all bubbly. If it doesn't get foamy and bubbly, throw it out and start over (the yeast was dead).

Once the yeast is bubbly and foamy, measure out your flour. We want 22 oz. 

If you don't have a little kitchen scale, I highly suggest getting one. They are pretty cheap, and indispensable when it comes to this type thing. One recipe I read for pretzels said you wanted 22 oz, or about 4 1/2 c. Well, I measured out 22 oz of my store-brand flour, but cup-wise it was 3 1/2 cups... I've got some seriously heavy flour. Be aware you guys!

Mix the flour, melted and cooled butter, and salt into the foamy yeast. 


Now, with your dough hook on the KitchenAid, beat it on low for several minutes. 


Until a ball forms. Beat that ball on medium speed for 4 minutes or so. You're kneading!


Take the slightly sticky dough ball out of the bowl. Grease the bowl up with Crisco or veggie oil.


Dunk the ball back in there, top first, and swirl it around. Flip the ball over and dust with a sprinkling of flour. Cover the bowl with plastic wrap and let rise for 1 hour in a warm place (like a 150 degree oven).


While you're waiting on the bread, lets color eggs! First - hard boil those suckers. Fifteen minutes in boiling water should do the trick.


Then, follow the directions on the back of your favorite egg dye to set up your bowls.

I think I could dye eggs every day and not get tired of seeing the transformations....

Some of my eggs look a little spotty. I tried to create polka dots with a bit of parafin wax I had lying around. The boiling water melted it... so I have slightly spotted eggs.... Oh well. 

Back to the dough! It's ready!


Nicely doubled in size. Now, dump it out on a slightly oiled counter and cut into 12 pieces. Aka, 6 pieces per half.


Now, while you shape the pretzels, but 14 c. of water on to boil. Dump in a cup of baking soda. Stir it in.


Back to the pretzels!

I've got two types of nests for you to choose from. One that looks more braided and nest-like, and one that more resembles the thorny crown that Jesus wore. 

We'll start with the braid:

Roll your dough out into a rope, about 18 inches long. Bring one end around, making a circle in the middle. Twist the end around the circle. 


Now, wrap the other end around the other half of the circle. Be sure to pinch those ends together well!!


Lay your finished twists on a lightly oiled, parchment-lined baking sheet.


Now for the other option - and it's easier.

Roll your dough out into a 12 in long rope. Loop it into a circle and twist the ends together to seal. 

Take a pair of kitchen shears (or clean scissors) and make small snips around the inside and outside of the ring. 


Place the finished dough rings on a lightly oiled, parchment-lined baking sheet.


Now, dump the rings, a few at a time, into the boiling water/baking soda. Let them cook for 30 seconds, poking them down into the water with a spatula a few times.

 
With a slotted spatula, gently remove the rings and place them back on the baking sheets. Brush your boiled rings with an egg wash and sprinkle with coarse sea salt.


They'll look a little puffier once they've gone for their bath. 


Now, into the oven they go! 425 degrees for 12-14 minutes. 


Once they're nice and brown, you can take your eggs and nest one in each hole.


Or you can just leave them plain. They'll get eaten either way!


Easter Pretzel Nests
Makes 12 nests
Adapted from Joy the Baker

1 1/2 c. warm water
1 tbsp sugar
1 package active dry yeast
22 oz flour
2 tbsp melted and cooled butter
2 tsp salt

14 c. water
1 c. baking soda
1 egg, beaten + 3 tbsp water
Coarse sea salt for topping

12 hard boiled, colored eggs

Combine the warm water, sugar and yeast in the bowl of your KitchenAid mixer. Let sit for 5 minutes. If yeast is foamy and bubbly, proceed. If not, start again. 

Add flour, salt, and butter to the foamed yeast mixture. With the dough hook on the machine, beat on low for several minutes until a ball of dough forms. Once the ball is formed, increase the speed to medium, and beat for 4 more minutes. Remove the dough ball from the bowl and scrape off sides if necessary. Grease the bowl with Crisco or oil. 

Return the dough to the bowl and sprinkle with flour. Cover the bowl with plastic wrap and let rise for 1 hour, until doubled in size. 

Once the dough has risen, divide into 12 equal-sized pieces. Preheat the oven to 425 degrees.

Put the 14 c. water and baking soda into a large stock pot and set to boil.

Roll out the pretzels on a lightly oiled surface, using either method listed above in the photos. Set completed rings on lightly oiled, parchment lined baking sheets.

Dunk completed rings, a few at a time, into the boiling baking soda mixture. Allow to boil for 30 seconds. Remove rings with a slotted spatula. 

Brush boiled rings with the egg wash and sprinkle with salt.

Place in your 425 degree oven, with the racks in the top 3rd and middle of the oven, for 12-14 minutes. Or until a dark golden brown. 

Once the pretzels are browned, put on plates and insert the colored hard-cooked egg into the center of the ring. Serve.


Wednesday, April 4, 2012

Chorizo & Black Bean Enchiladas


I found something new at the local grocery last week. Chorizo. Both beef and pork!

There was squealing. And staring. One of those was not done by me, but by those around me. I'll let you guess which one.


As soon as I brought them home, I was paralyzed by the myriad possibilities. I could do anything. So they sat in my fridge for several days. Until inspiration (and hunger) struck. 

First, brown up that chorizo.


Then toss in a can of rinsed and drained black beans.


I had a helper in the kitchen. He mentioned that he's always wanted to be a hand model...


But I think his face is pretty cute. 

Next up, dip those corn tortillas in boiling chicken stock for 5 to 10 seconds.


Take the tortilla and toss it into the thoroughly greased 9x13. 

Fill it with a small spoonful of the chorizo & beans, then top with a sprinkling of grated monterey jack.


Fold the two ends over the mixture and flip so that the ends are down. Repeat to fill the pan. I fit 12 and a half.


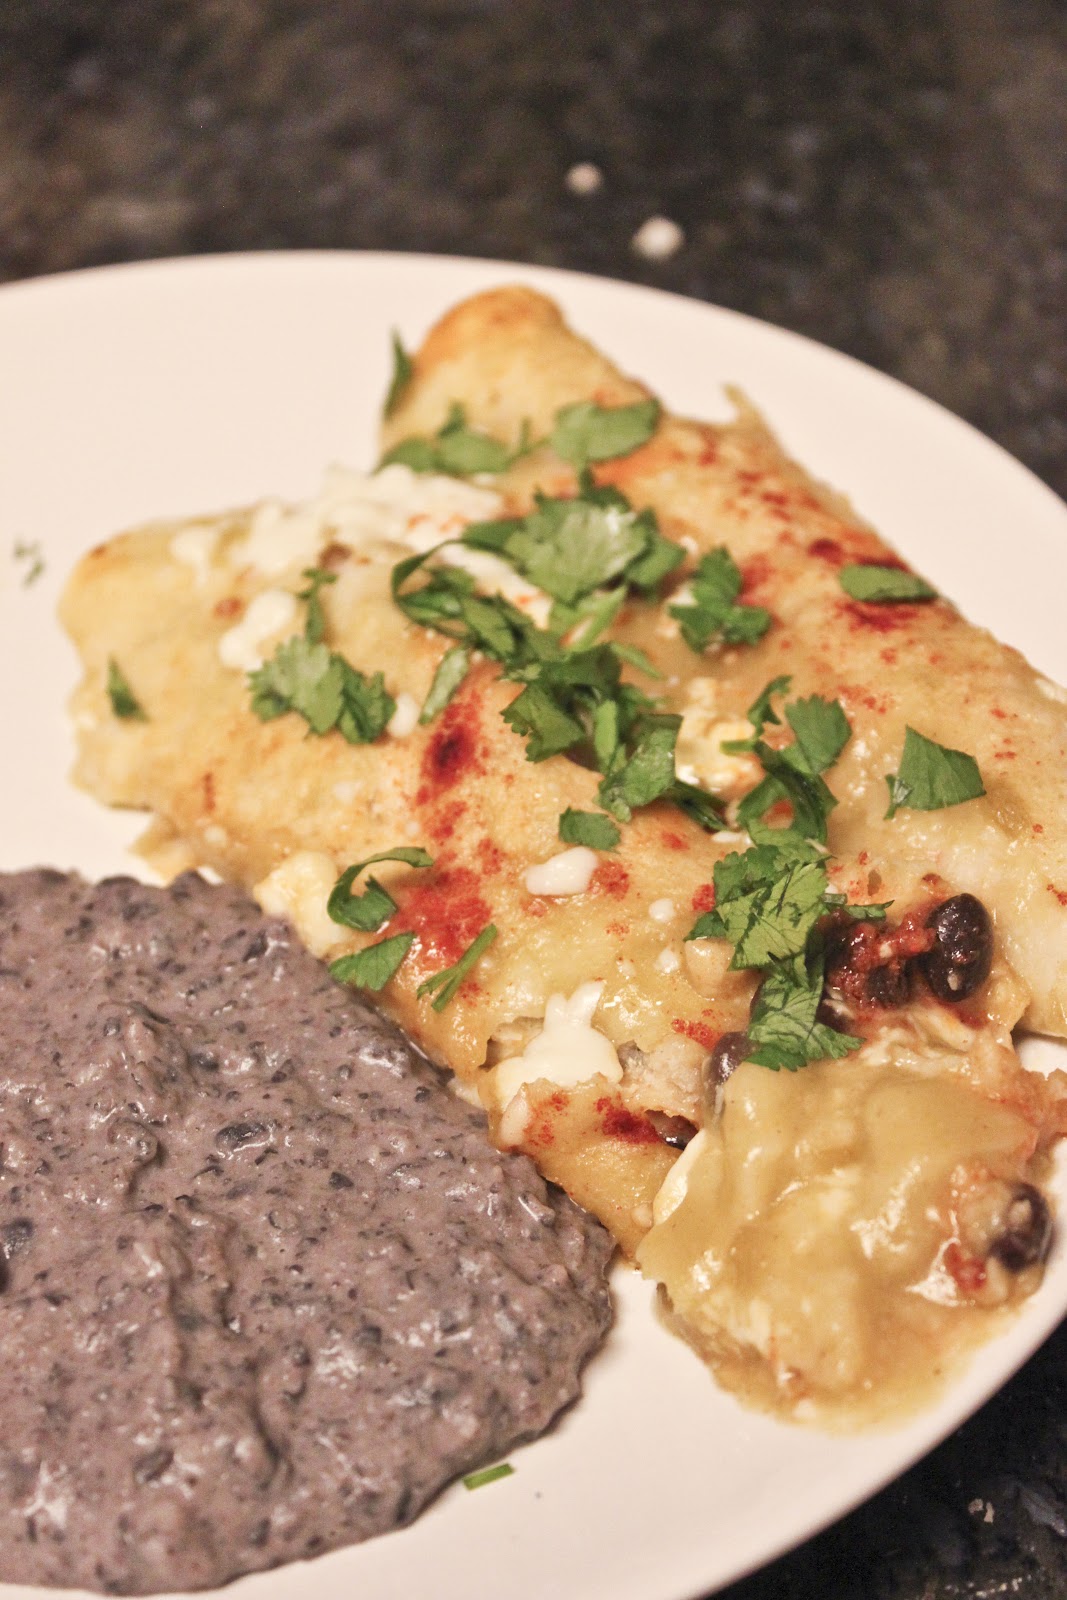
Pour a can of green enchilada sauce over the whole thing. Sprinkle liberally with smoked paprika.


Bake at 350 for 15 minutes. Then top with queso fresco (or more monterey jack) and bake for another 5 minutes. 


Transfer to a plate and sprinkle with some cilantro. From your plant on the porch. Serve with re-fried black beans.


Chorizo & Black Bean Enchiladas
Makes about 12 enchiladas

1 chub cacique pork or beef chorizo
1 can black beans, drained and rinsed
12 to 14 corn tortillas
2 c. chicken stock
2 c. shredded monterey jack cheese
1 can green enchilada sauce
Smoked paprika
Queso fresco (optional)
Chopped cilantro for serving
2 tbsp olive oil

Preheat the oven to 350 degrees. Place the olive oil in a 9x13 glass pan and smear all over the bottom. Set the chicken stock to boil in a medium pot (one large enough to dip your tortilla). 

In a large saucepan, brown the chorizo. Once the sausage is cooked, add the beans. 

One at a time, dip the tortilla into the boiling chicken stock for 5-10 seconds, or until malleable. Place the tortilla in the baking dish. Spoon a small amount of the chorizo and beans into the middle of the tortilla. Top with cheese. Roll up and turn over so that the seam side is down. Repeat to fill the pan. 

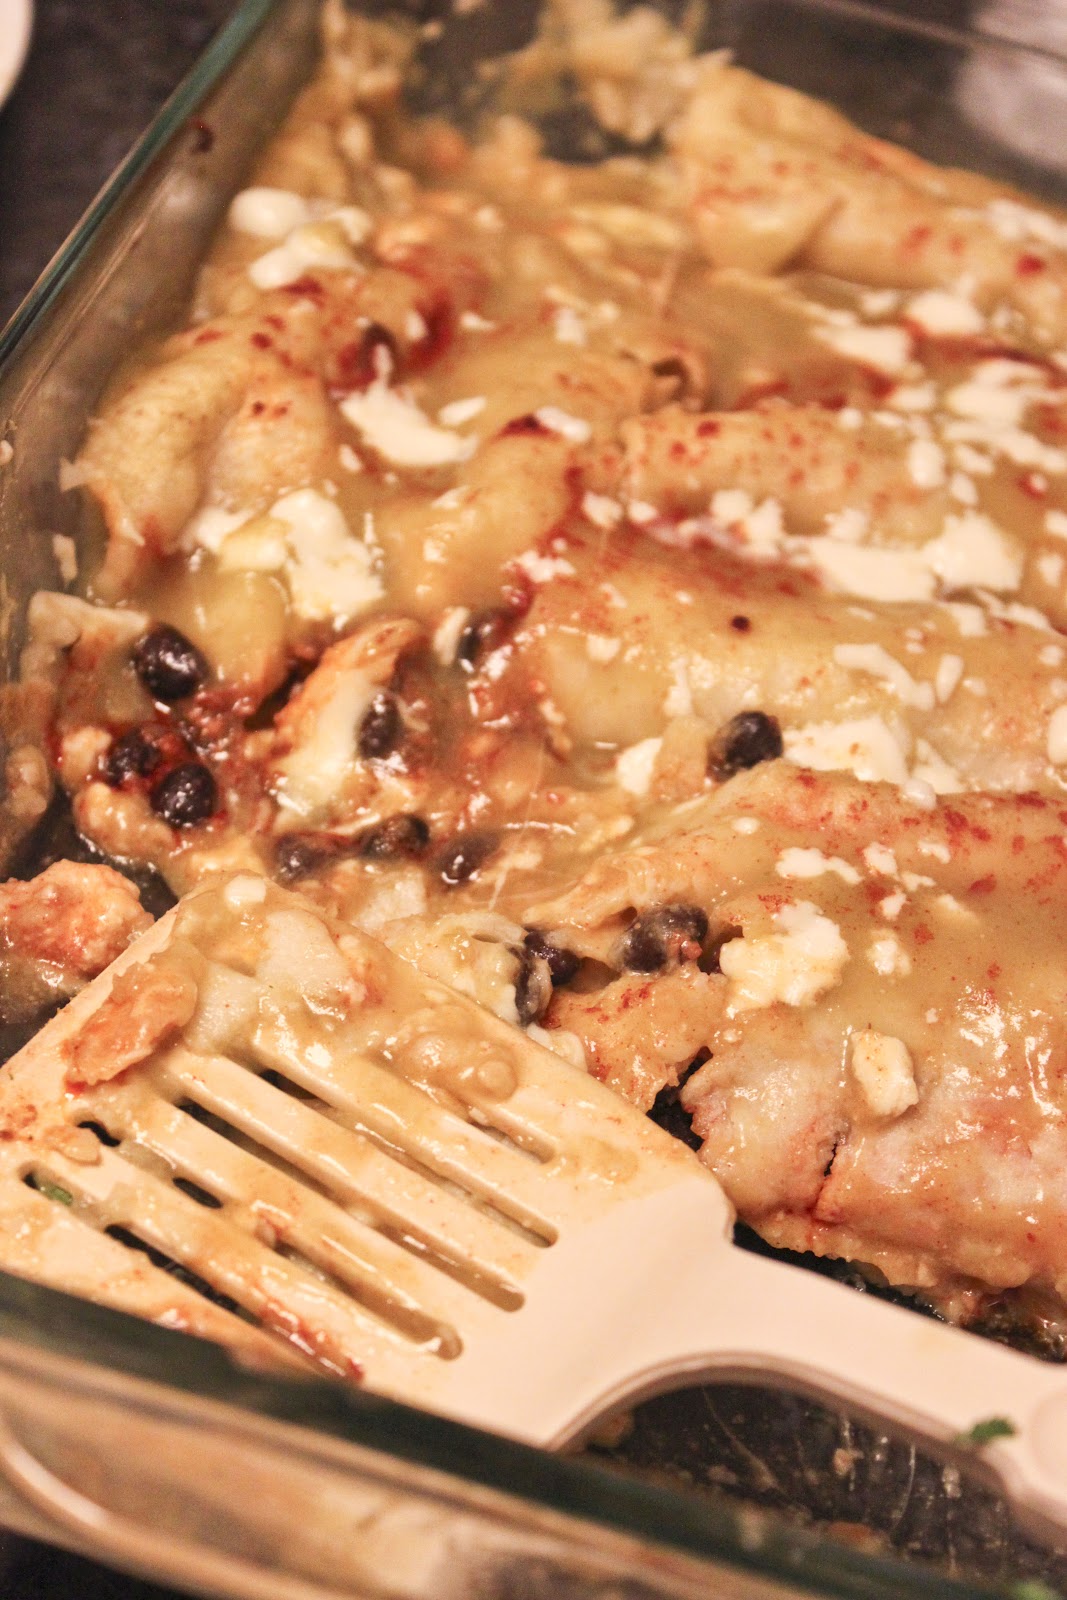
Pour the green enchilada sauce over the finished enchiladas. Sprinkle as desired with smoked paprika. Place in the oven for 15 minutes, or until sauce is bubbling nicely. Remove from oven, sprinkle with queso fresco or any left over monterey jack. Replace in oven, and bake for 5 more minutes. 

Allow to cool for 5 minutes before serving. Cover each portion with chopped cilantro.

The pan may not look too pretty, but boy are they good!


Monday, April 2, 2012

Grapefruit Sticky Curd


It's Monday. And in the south bay, it's cloudy. So perhaps we should have a little edible sunshine, eh?

My dear friend Lindsay made Jillee's English Muffin Bread and was kind enough to share a loaf with me. Which, of course, meant that I needed something to put on it. A citrus curd seemed just the thing.

I had a grapefruit to use up, but I only had 2 eggs left. Dear, dear. Well, the result tasted like curd, but it acted more like a caramel. And thus, Sticky Curd was born!

Start off with the grapefruit. It needs juicing. And zesting.


Add some of that juice to a saucepan with the zest and a fair amount of sugar. Let it boil for 10 minutes or so. I was hoping that it would reduce. It ended up caramelizing.... and not really reducing much at all. But that was a happy accident!


Once the color got to a deep amber, I pulled it off the heat and tempered the 2 egg yolks, then poured that back into the pot with the rest of the syrup. 


That cooks until thickened. Then, pull it off the heat and add butter.


Move it to a bowl and allow to cool in the fridge for 10 minutes. The texture gets all taffy-esque. Awesome!


Perfect for English muffin bread toast!

Grapefruit Sticky Curd
Makes about a 1/2 c.

1/2 c. grapefruit juice (I juiced one small ruby red)
2 tbsp grapefruit zest
1 c. sugar
2 egg yolks
2 tbsp butter

In a small saucepan, mix juice, zest, and sugar. Bring to a boil, and boil for 10 minutes or until a deep amber color develops. 

Remove from heat. In a small-ish bowl, hold the 2 egg yolks. While whisking furiously, pour about a quarter of the syrupy mixture into the eggs to temper them. Once tempered, pour the egg mixture back into the pot with the remaining syrup. Return to a low heat and whisk until thickened. 

Remove from heat and stir in butter in two increments. Pour into a bowl and allow to sit in the fridge for 10 minutes before serving. Use as a spread on toast (or whatever else you want to put in your mouth).